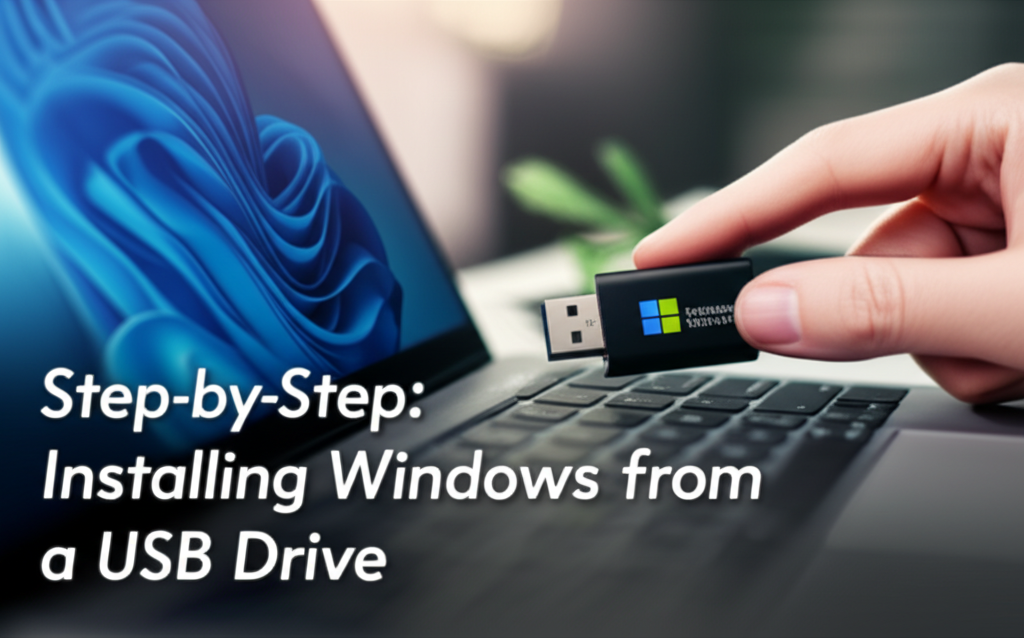
Introduction
If you’ve ever needed to reinstall Windows, upgrade your operating system, or set up a new computer, you may have encountered the option to install Windows from a USB drive. This method is a fast and efficient way to get Windows up and running, making it a favored choice among users. In this guide, we’ll walk you through the process of creating a bootable USB drive and using it to install Windows. Whether you’re a novice or have some experience, our step-by-step approach is designed to make the process as straightforward as possible.
Why Install Windows from a USB Drive?
- Speed: USB drives transfer data faster than traditional DVD installations.
- Convenience: A USB drive is portable and can be used on any compatible machine.
- Compatibility: Many modern computers don’t come with DVD drives.
- Ease of Updates: It’s simpler to create a bootable USB with the latest version of Windows.
Now that you understand the importance of installing Windows from a USB drive, let’s get started!
Step 1: Preparing Your USB Drive
What You’ll Need:
- A USB flash drive (8GB or larger).
- A working computer with internet access.
- A Windows ISO file (Windows 10/11).
- Windows Media Creation Tool (for creating bootable USB).
Instructions:
-
Backup Your USB Drive: If you have data on the USB drive, make sure to back it up, as this process will erase all existing data.
-
Download the Windows Media Creation Tool:
- Go to the Microsoft Download Page.
- Click on "Download tool now."
- Save the file to your computer.
-
Run the Media Creation Tool:
- Locate the downloaded tool, usually in your Downloads folder, and double-click to run.
- Accept the license terms.
-
Select “Create installation media”:
- Choose language, edition, and architecture (64-bit or 32-bit).
- Click “Next.”
- Choose USB Flash Drive:
- Select "USB flash drive" and click “Next.”
- Choose the USB drive from the list and click “Next.”
- The tool will begin downloading and creating the bootable drive. This process can take some time.
Confirmation:
Once the process is complete, you’ll see a message stating your USB drive is ready. You can now use it to install Windows on any compatible PC.
Step 2: Installing Windows from the USB Drive
Instructions:
-
Insert the USB Drive:
Plug the USB flash drive into the target computer. -
Restart the Computer:
If the computer is currently on, restart it. If it’s off, power it on. -
Access the BIOS/UEFI:
- As the computer restarts, press the designated key (usually
F2,F12,Delete, orEsc) to enter BIOS/UEFI settings. This key varies by manufacturer and will be shown on the screen during boot.
- As the computer restarts, press the designated key (usually
-
Set USB as Boot Device:
- Navigate to the "Boot" tab using the arrow keys.
- Use the instructions on the screen to adjust the boot order, placing the USB drive at the top of the list.
- Save and exit the BIOS/UEFI settings (usually by pressing
F10).
-
Begin the Installation Process:
- The system will now boot from the USB drive. You’ll see the Windows logo.
- Select your preferred language, time, and keyboard input, then click “Next.”
-
Click on “Install Now”.
-
Enter Product Key:
- If prompted, enter your product key. If you don’t have one, you can click “I don’t have a product key” to proceed. Remember, you’ll need a key to activate Windows later.
-
Select Installation Type:
- Choose either “Upgrade” (if you want to keep existing files) or “Custom: Install Windows only (advanced)” for a clean installation.
- If you select “Custom,” you’ll reach a screen displaying your partitions.
-
Choose Your Partition:
- Select the partition where you want to install Windows. It’s often recommended to delete the existing partitions to perform a clean install. Be cautious, as this will erase all data on those partitions.
- Click “Next” to start the installation.
- Follow On-Screen Instructions:
- The installation process will take some time and may restart several times.
- You’ll be prompted to configure settings like region, keyboard layout, and Microsoft account sign-in.
Step 3: Common Errors & Quick Fixes
1. Unable to Boot from USB
- Problem: The computer does not boot from the USB drive.
- Solution: Double-check the boot order in BIOS/UEFI settings. Ensure the USB drive is recognized and listed first.
2. Installation Fails or Freezes
- Problem: The installation process hangs or fails.
- Solution: Ensure the USB drive is properly created. Try recreating the bootable USB with the Media Creation Tool or try a different USB port.
3. Driver Issues after Installation
- Problem: Windows fails to recognize devices post-installation.
- Solution: Connect to the internet and run Windows Update to automatically download necessary drivers.
Step 4: Advanced Tweaks for Power Users
1. Customizing the Installation Process
For those comfortable with advanced settings, consider:
- Using a Config File: Custom, unattended installations can be performed using an autounattend.xml file placed in the root directory of your USB drive.
2. Disk Partitioning
Advanced users can utilize disk partitioning tools during installation to create multiple partitions for organizing data effectively.
3. Utilizing Command Prompt
During the installation process, you can shift to the Command Prompt for advanced troubleshooting. Press Shift + F10 to open it.
4. Deploying Windows 10/11 with DISM
For advanced deployments, you can utilize the Deployment Image Servicing and Management (DISM) tool for maintaining Windows images.
Summary Checklist for Quick Reference
-
Before Installation:
- [ ] Backup important data on USB drive.
- [ ] Download Windows Media Creation Tool and ISO file.
- [ ] Prepare USB drive.
-
During Installation:
- [ ] Access BIOS/UEFI settings.
- [ ] Choose USB as boot device.
- [ ] Follow on-screen prompts.
- Post Installation:
- [ ] Perform Windows Update to ensure all drivers are installed.
- [ ] Configure system settings according to preference.
Conclusion
Installing Windows from a USB drive is not just a convenient method; it’s an efficient way to manage your operating system installations. By following this comprehensive guide, you can confidently create a bootable USB and navigate through the installation process without overwhelming technical details. Remember, preparation is key—always backup your data and double-check your steps. Happy computing!