Introduction
In an age where data privacy is paramount, understanding and managing your privacy settings in Windows 11 has never been more critical. Windows 11, like any modern operating system, comes with a variety of features designed to enhance your user experience. However, these features can often lead to a compromise in your personal privacy if not properly configured. Understanding how to unlock and optimize these privacy settings can safeguard your sensitive information and provide peace of mind as you use your device.
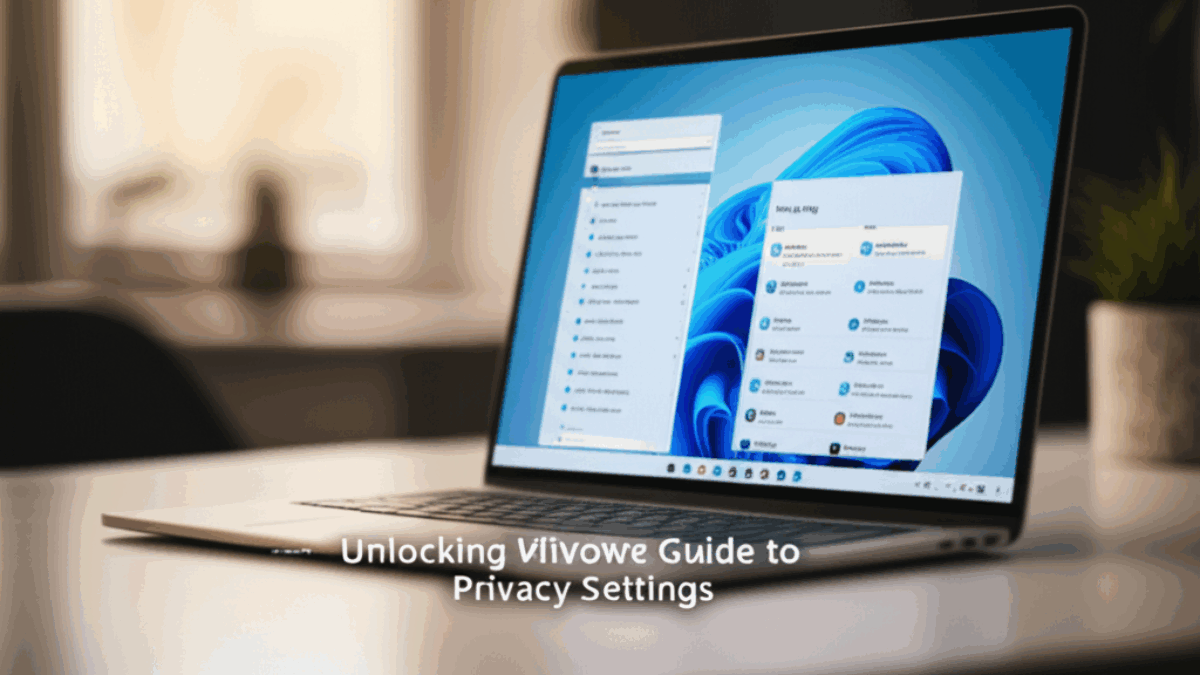
In this comprehensive guide, we’ll delve into the privacy settings available in Windows 11, why they matter, how to navigate them step-by-step, and provide additional recommendations for maintaining your privacy in the digital age.
Step 1: Accessing Windows 11 Privacy Settings
To begin managing your privacy settings, follow these simple steps:
-
Open Settings: Click on the Start button (the Windows icon on the taskbar) and select the gear icon labeled "Settings."

-
Navigate to Privacy & Security: In the Settings window, look for "Privacy & security" in the left sidebar and click on it.

-
Review Privacy Settings: You’ll find various sections related to privacy, including "Windows permissions" and "App permissions."

Why These Settings Matter
Windows collects a significant amount of data to improve user experience, such as diagnostic data, location information, and activity history. By managing these settings, you can limit data collection to what you’re comfortable with.
Step 2: Adjusting Permissions
2.1 Windows Permissions
These settings control what access Windows has to your device and your information.
-
Diagnostics & Feedback:
- Click on Diagnostics & feedback.
- Here you can choose what diagnostic data to send to Microsoft.
- You have the option to select "Required diagnostic data" or "Optional diagnostic data."

-
Activity History:
- Scroll to the Activity history section.
- You can stop Windows from storing your activity history by unchecking “Let Windows collect my activities from this PC.”

- Tailor Your Experience:
- Some features might depend on activity history. Make sure to read what each option entails.
2.2 App Permissions
Windows 11 allows you to control which apps can access specific data types.
-
Camera and Microphone:
- Under the App permissions section, go to Camera.
- You can allow or deny access to the camera for specific apps.
- Repeat this for Microphone.

-
Location:
- Click on Location to adjust which apps can access your geographic location.
- Toggle off the location service altogether or for individual apps.

2.3 Contacts and Other Permissions
In the same app permissions list, you’ll find settings for Contacts, Calendar, Messaging, and more. Adjust these based on your privacy preferences.
Step 3: Utilizing Built-in Privacy Features
In addition to individual app permissions, Windows 11 has some built-in tools that enhance privacy:
3.1 Windows Security
-
Open Windows Security: Search for "Windows Security" in the Start menu.

-
Firewall & Network Protection: Ensure your firewall is turned on to block unauthorized access to your PC.
-
Virus & Threat Protection: Regularly update your virus definitions and run scans to safeguard against malware.

3.2 Windows Defender
-
Real-time Protection: This should be enabled by default. It helps to detect and block threats immediately.
-
Ransomware Protection: Enable controlled folder access to protect your important files from ransomware attacks.

3.3 BitLocker Encryption
For added security, especially if you handle sensitive information, consider enabling BitLocker Drive Encryption on Windows 11 Pro:
-
Open Control Panel: Search for "Control Panel" in the Start menu.
-
Select System and Security, then BitLocker Drive Encryption: Follow the prompts to encrypt your drive.

Step 4: Quick Fixes for Common Issues
Issue 1: Apps not functioning due to Privacy Settings
Solution: Review app permissions and ensure that necessary permissions are enabled for the apps causing issues.
Issue 2: Location not working
Solution: Check if the Location service is turned on in Privacy settings and verify permissions for apps that need this service.
Issue 3: Windows Security alerts
If you’re getting alerts from Windows Security:
- Update Security Definitions: Ensure your Windows is up-to-date.
- Run a Full Scan: This can identify any potential threats.
Step 5: Advanced Tweaks for Power Users
-
Group Policy Editor (for Windows Pro users):
- Open Run (Windows + R), type
gpedit.msc, and hit Enter. - Navigate to Computer Configuration > Administrative Templates > Windows Components to adjust advanced settings.
- Open Run (Windows + R), type
-
Registry Editor:
- Open Run, type
regedit, and hit Enter. - Be careful here—changing registry entries can have significant effects on system behavior.
- Open Run, type
- Enable Enhanced Anti-Spam Features via Windows Security:
- Customize settings under Windows Security to enhance protection against spam and unwanted emails.
Step 6: Summary Checklist for Quick Reference
- [ ] Access Settings → Privacy & security.
- [ ] Adjust Diagnostics & feedback settings.
- [ ] Review and modify App permissions (Camera, Microphone, Location, etc.).
- [ ] Utilize Windows Security features (Firewall, Virus & Threat Protection).
- [ ] Turn on BitLocker for sensitive data protection (if applicable).
- [ ] Address any common issues with their respective solutions.
Conclusion
By following this comprehensive guide, you can unlock Windows 11’s privacy settings and safeguard your personal information. Remember, the security and privacy of your data are ongoing responsibilities. Regularly revisiting these settings after Windows updates or app installations is a wise practice. With the right knowledge and tools at your disposal, you can enjoy the full benefits of your Windows 11 experience without compromising your privacy.
Feel free to share this guide with friends or network to help them understand their Windows 11 privacy options as well!